Your team needs a safe place to work and exchange feedback and a space for natural organization to keep everything in order. You want to communicate effectively, move your projects forward, and be sure that nothing gets lost, right?
We wanted that too, and that’s how Nozbe came to fruition. Give Nozbe a try and create your team productivity system all in one space. Read on to learn how to get started.
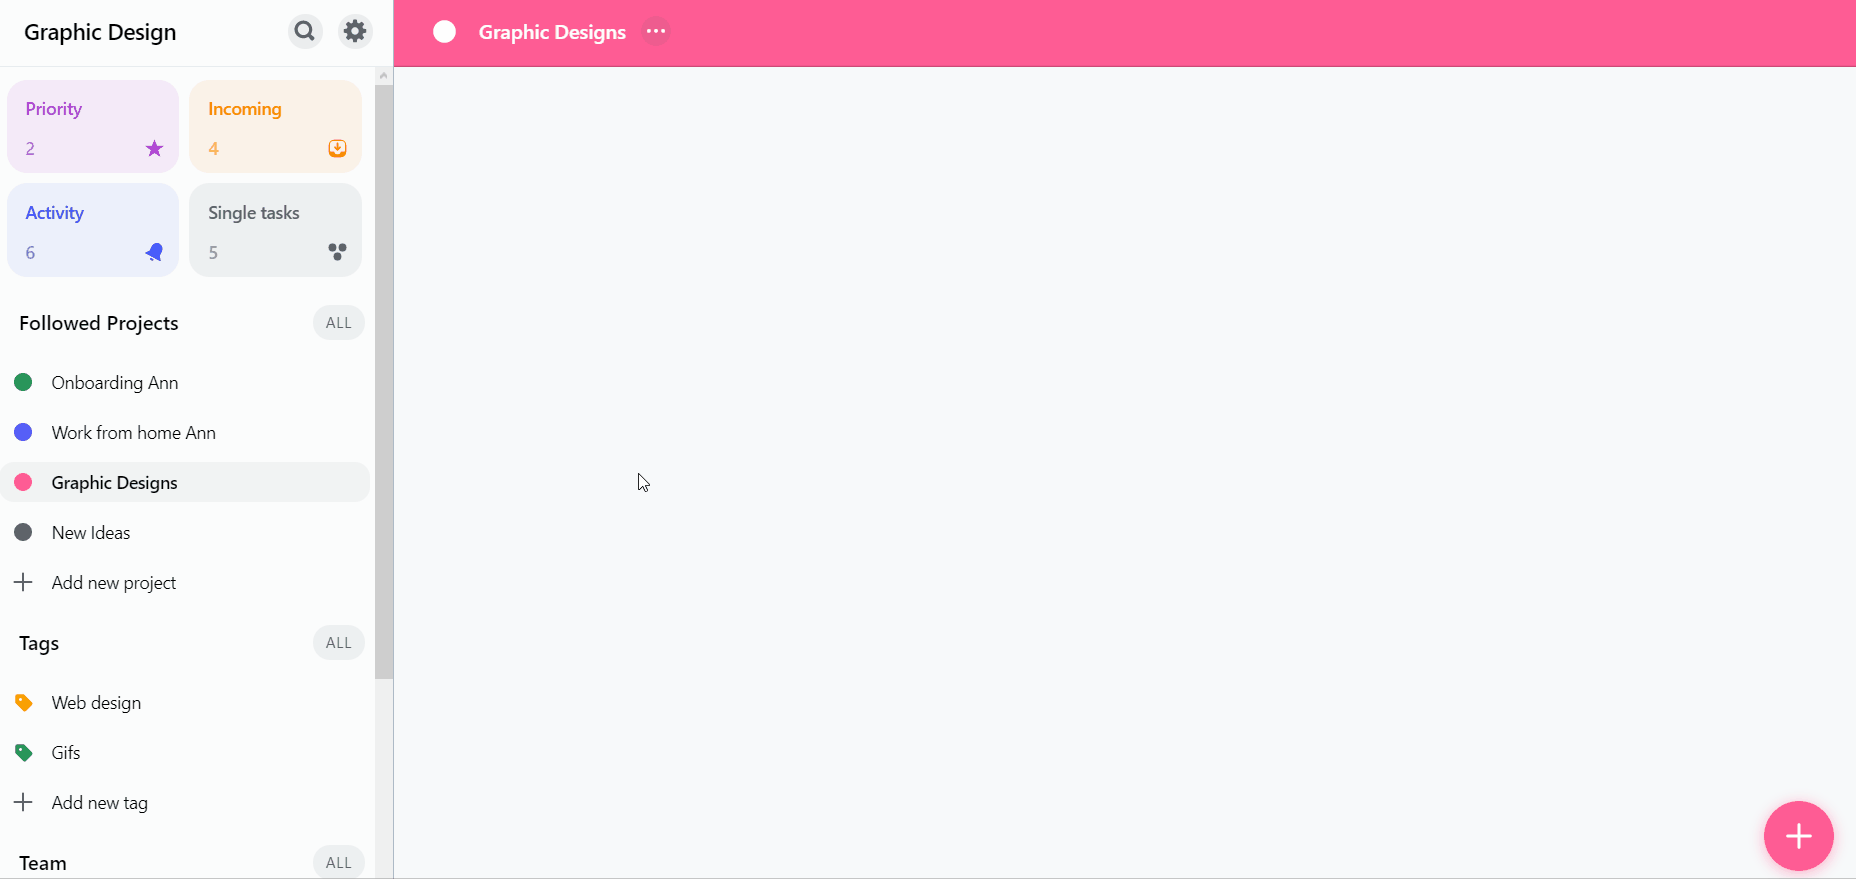
1. Set up your team account
First, you’ll want to create your account, if you haven’t yet. Nozbe is free for teams of up to 3 people and up to 3 active projects. We don’t ask for your credit card details or anything when setting up the free account. You don’t risk anything at all.
Click here, sign up for your account, tell us your name, give your team a name, and confirm your email address in your mailbox right away.
Once you are done, you will be able to log in to your app. You can do that on your computer, tablet, iPhone, or Android smartphone.
Now, you’re ready to invite collaborators to your team. First, try with the closest ones – it will be easier for you to start small and see how the implementation is going.
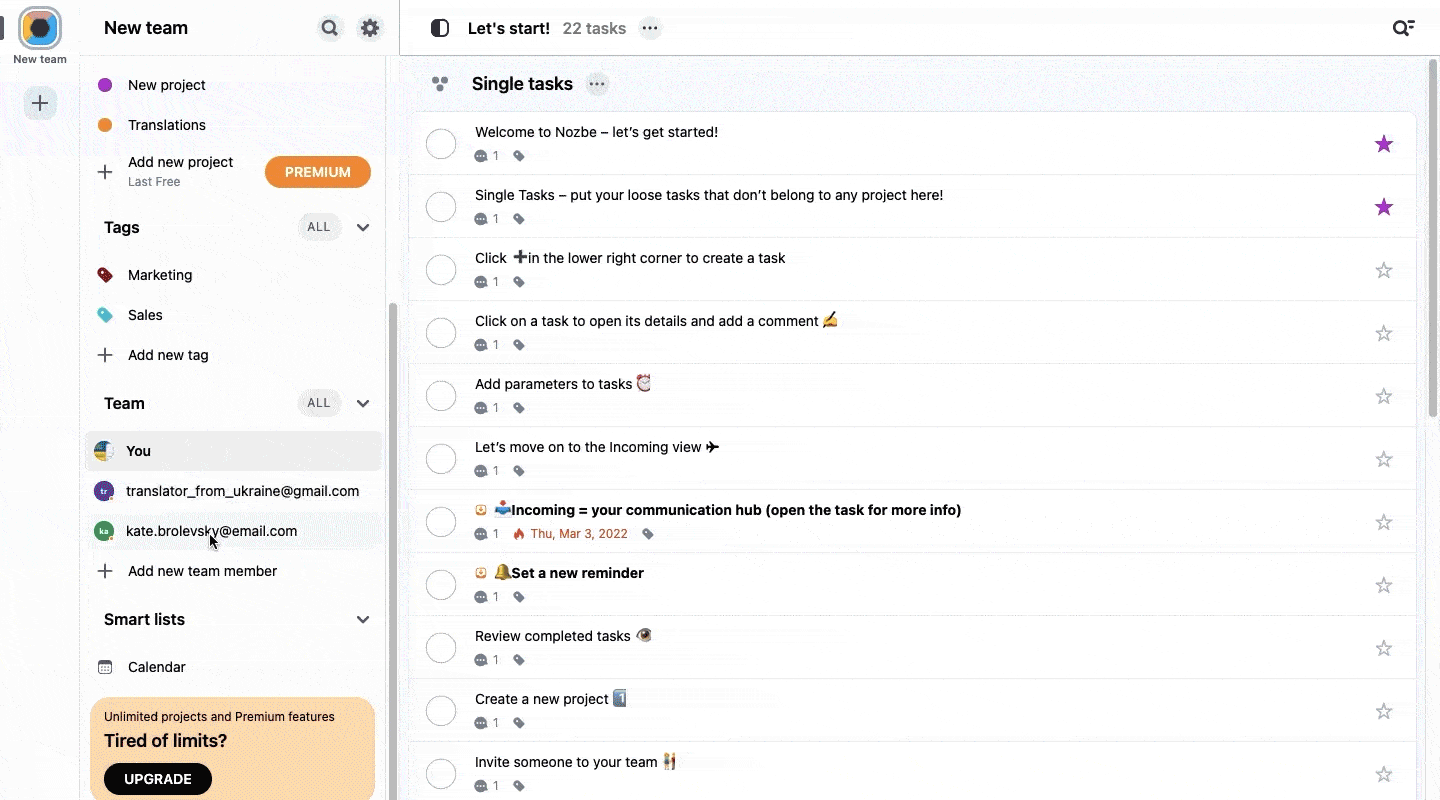
✅ To add someone to your team, select “Add new team member” in the main menu on the left. Enter the email address and tap “Next.” This person will receive an email invitation to your team.
For details, check out out Help Page. If you face any problems or need assistance, email our friendly customer support team at support@nozbe.com. They will be happy to help.
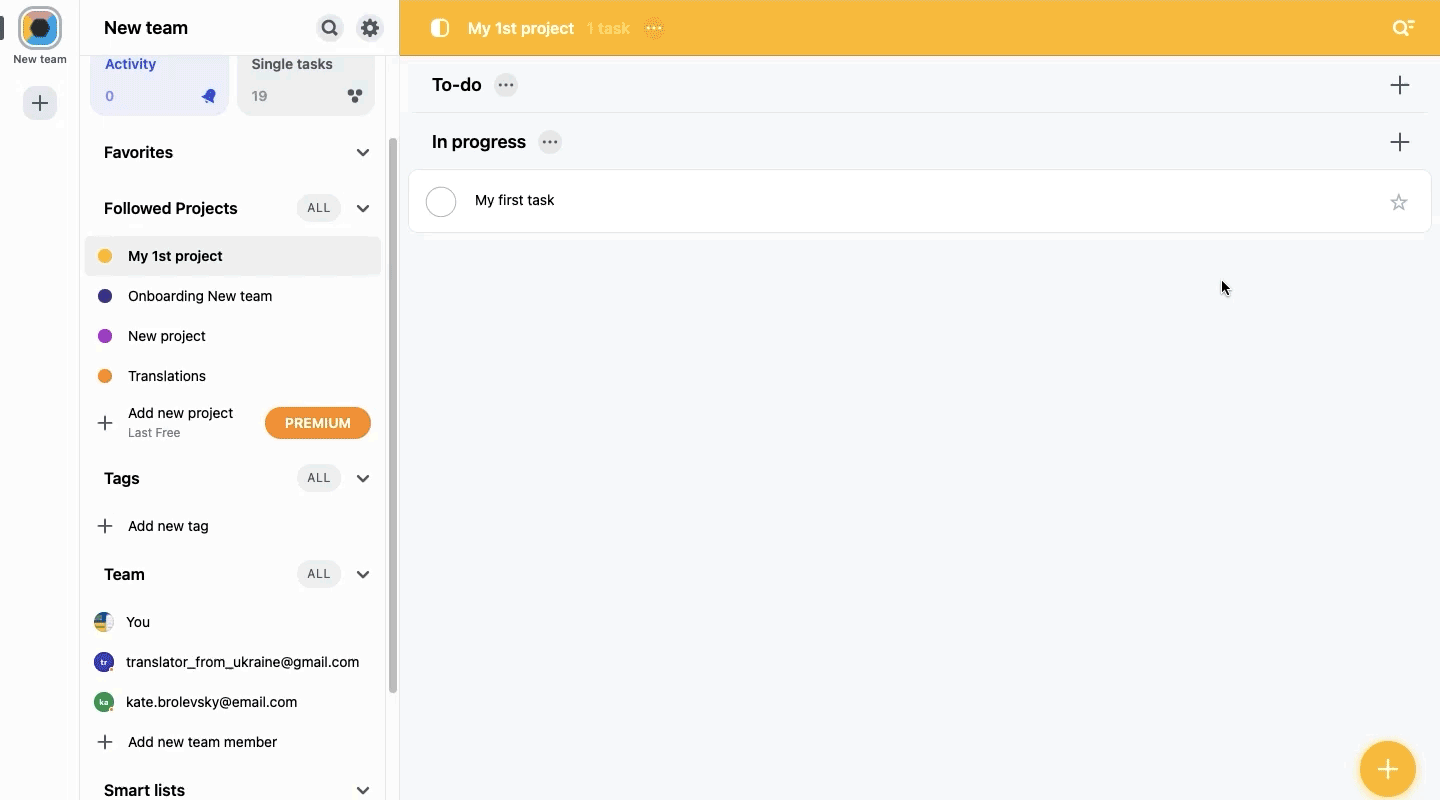
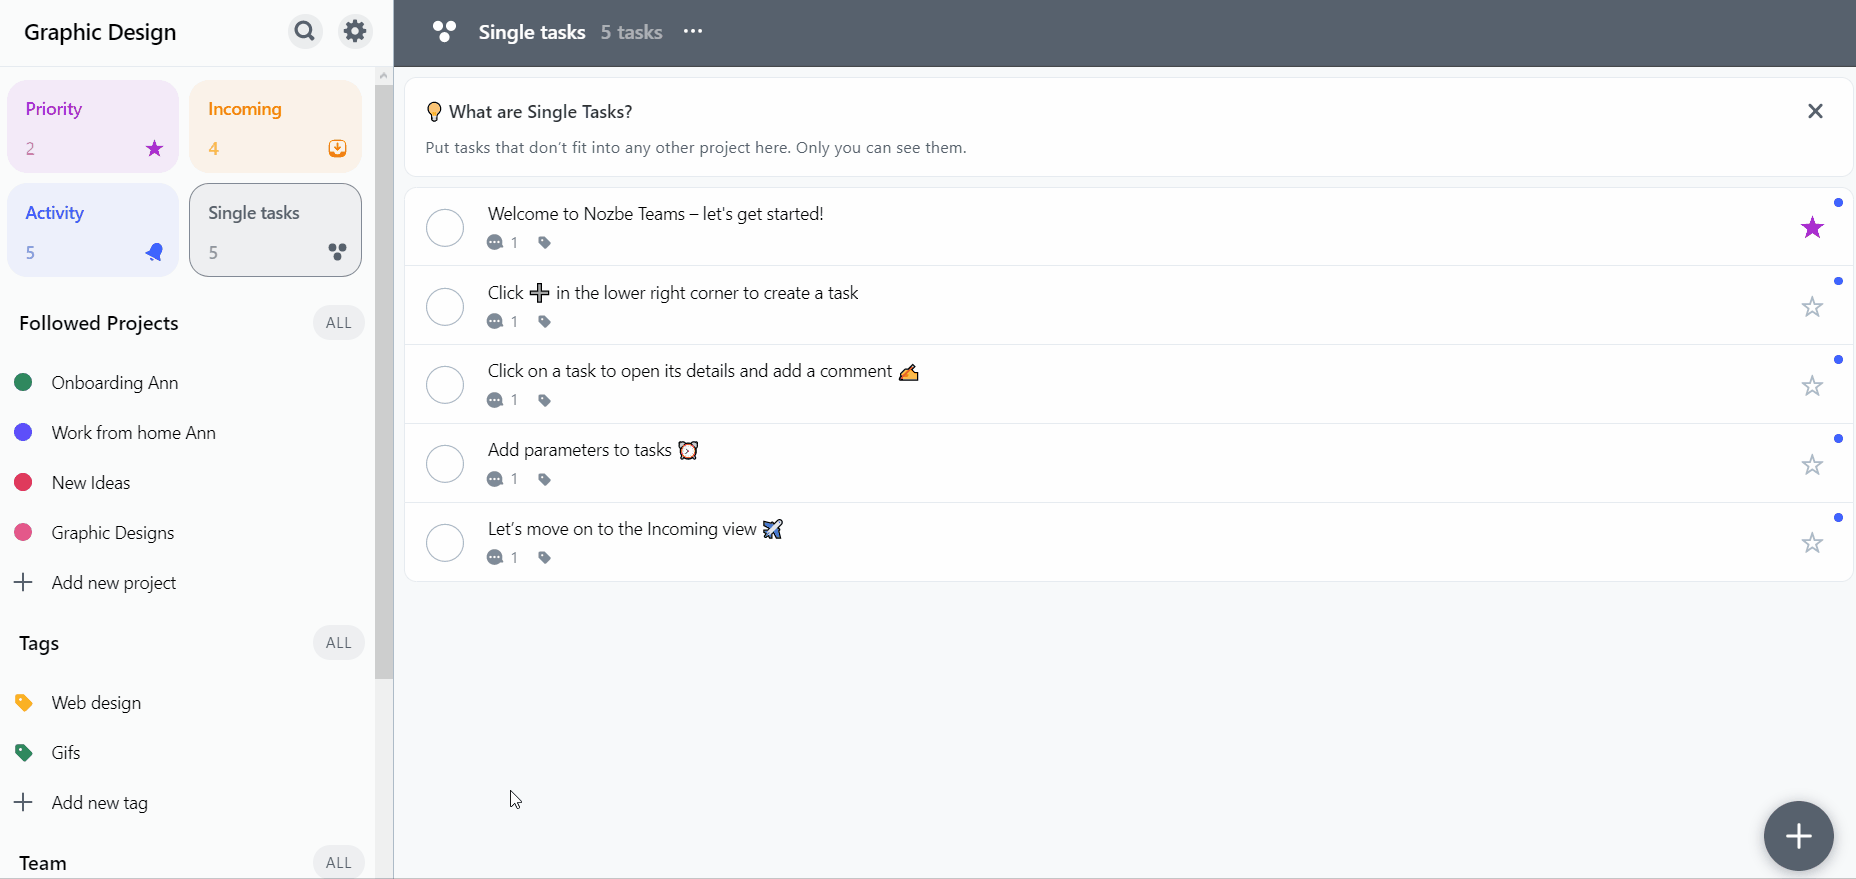
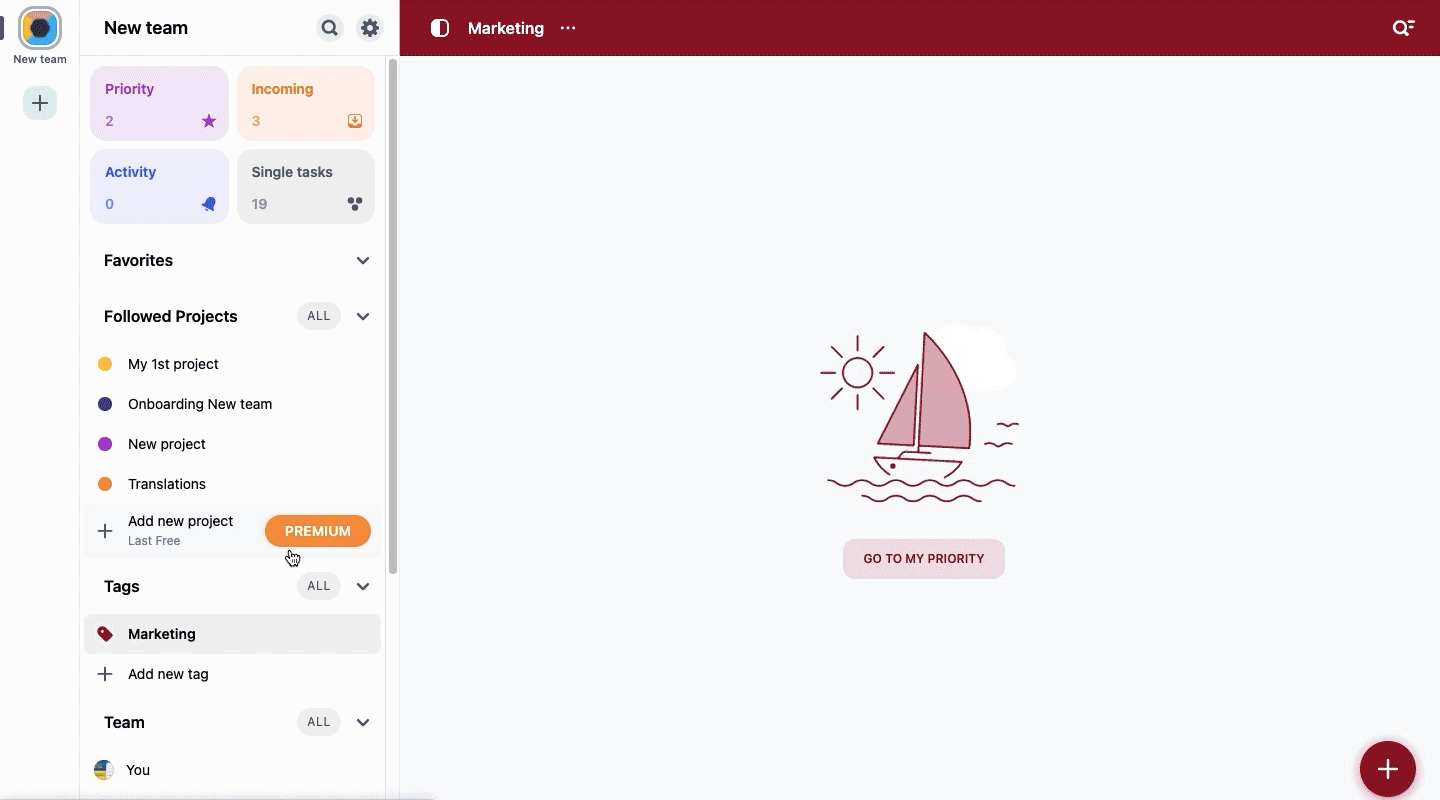
2. Create your first projects
Practically everything you and your team are working on is a project. It can be a campaign, a client, a product, an event, a business development idea… anything! To start your work, you need to define it first. Think of something you need to complete with your team and create a corresponding project in Nozbe.
✅ It’s very easy to create a new project in Nozbe. To do so, open the “All” Projects list in the left-hand side main menu, and select the “+” icon to open the project set-up form. You can simply tap on the + Create New Project button visible in the left-hand menu and create a project this way, too.
By default and in the free version of Nozbe, everyone on your team can access a new project. If you decide to go for the Premium account, you can limit the visibility of projects to a certain number of people or only to yourself.
Oh, and remember that not all projects have to be a part of a workflow or be actionable: some can act as repositories for ideas, documents, and resources.
3. Populate projects with tasks
Every project requires specific steps to get completed. Simply list the things that need to be done as tasks in your project. You can always add more later on if something comes up.
✅ To create a task, enter your project by clicking or tapping on its name on your project list. There is a “+” icon in the bottom right corner of the view. Use it to add your task.
When creating a task, remember to give it a specific name so that everyone on your team knows what it is about.
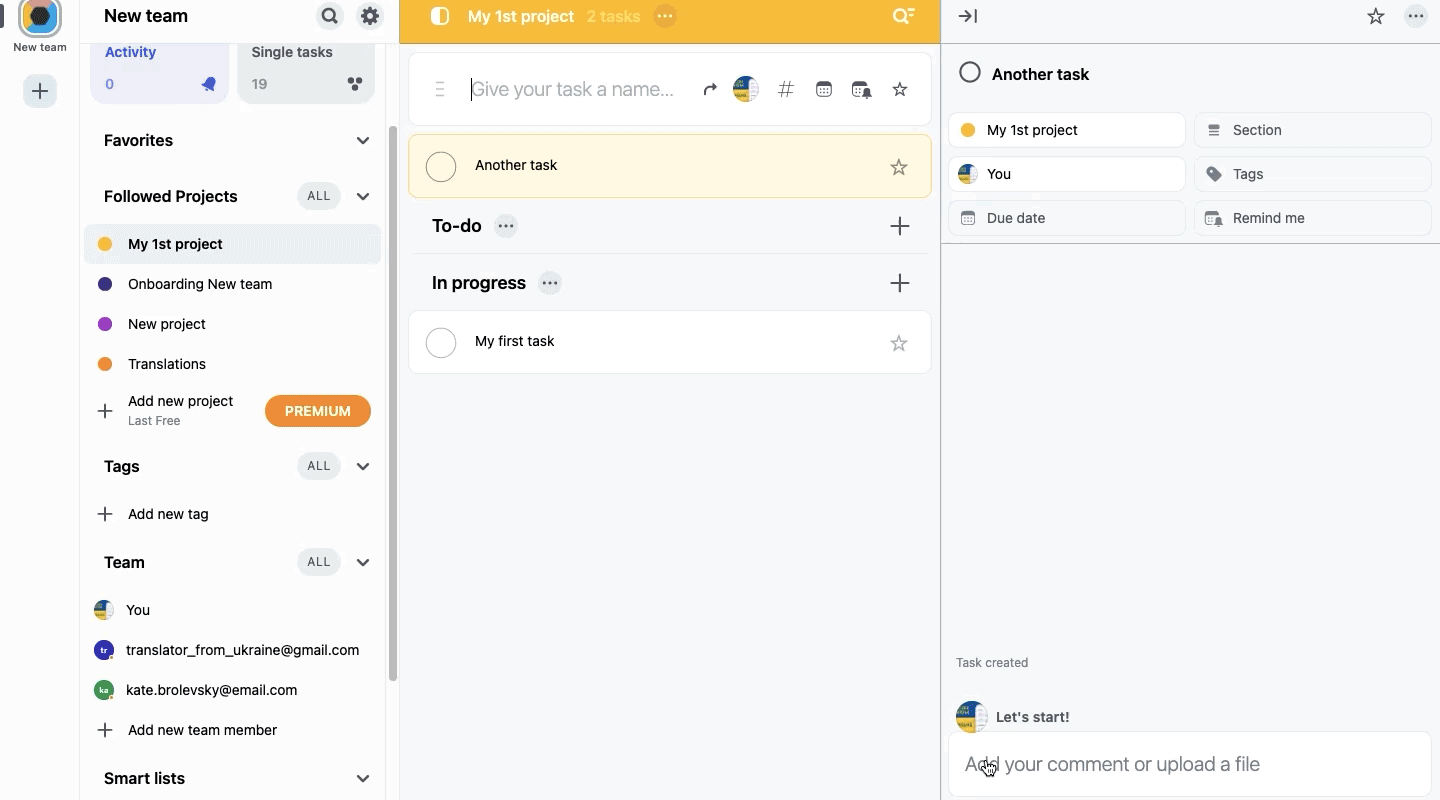
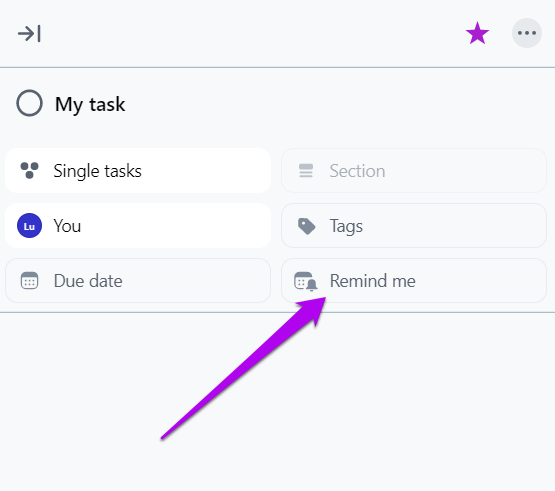
You can add task details to provide more info. Set up a due date for your task.
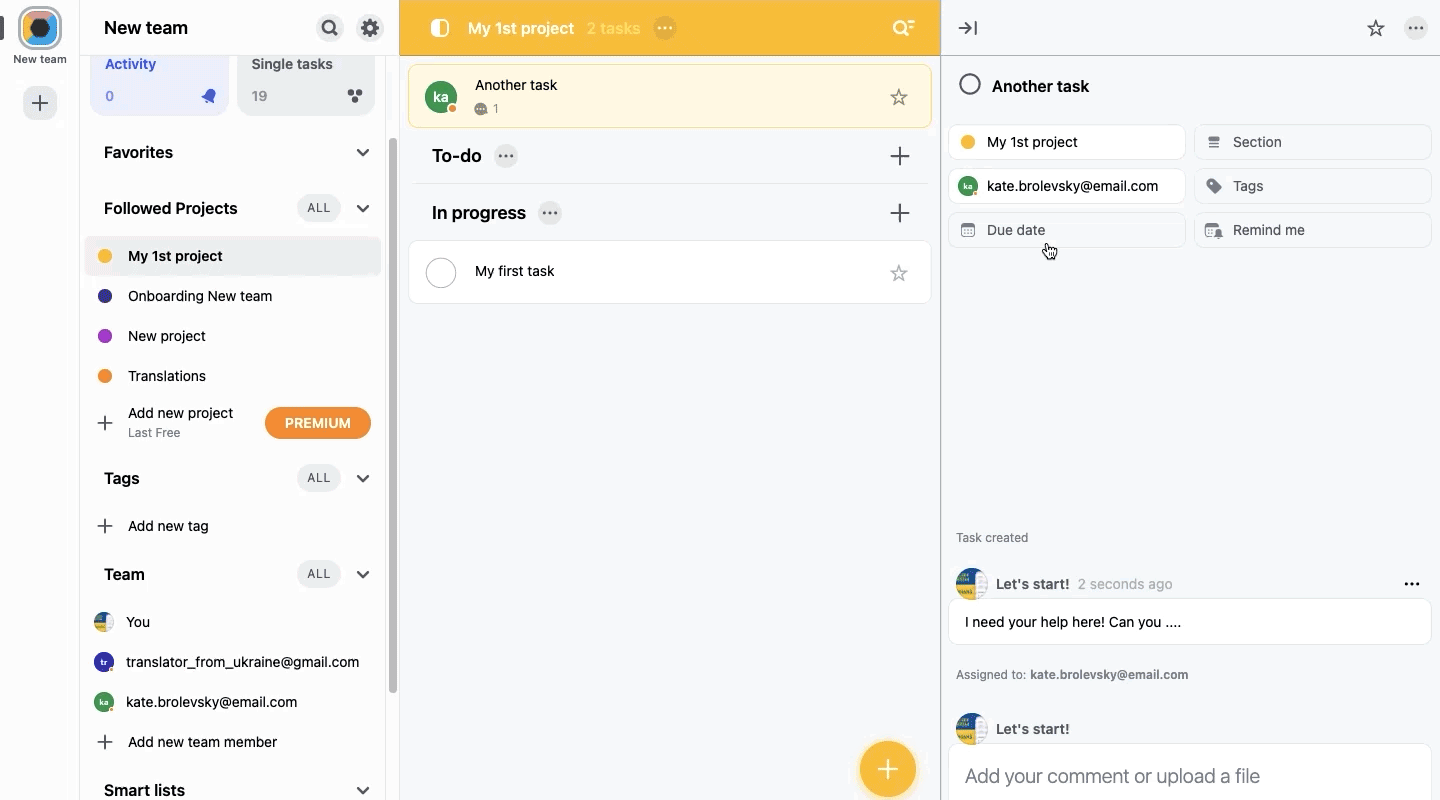
You can also set a reminder to get notified at a specified time. You can pick from the predefined options or choose an exact date and time for the alert. When the time comes, you’ll get a push notification in your mobile app,(https://nozbe.help/general/nozbe-apps/) and the task will appear in your Incoming view.
4. Try task-based communication
Now that you have defined a concrete task that needs to be done, team cooperation can begin! You may need to communicate with your team for many different reasons: perhaps you need to provide information on the task or indicate what roles different team members may play. And if it is a task that you’re about to work on yourself, you may need to use task comments to ask a specialist from your team for advice and feedback.
Sometimes the task is simple and its name is enough for your colleague to understand what needs to be done; in that case, it’s okay just to assign it to them without adding details.
But if some details are required to start working on the task, you can use comments to clarify what you have in mind. Comments are powerful in Nozbe. Apart from plain text, you can comment with an image, file, or any other attachment. If the task is complex, you can break it down into a few short steps with a checklist.
✅ To add a comment, open a task, and tap on the Add your comment window. You can choose text, checklists, lists (bullet or numbered), and files.
Once the task is precise, delegate it to a person that should be in charge and ask them to get back to you when the work is complete or if they have any questions or problems.
The significance of having projects and tasks in Nozbe is that all related work and information is kept in one safe space – this is helpful for future reference or if any new team members join in the process. Communicating within Nozbe means that you can:
- have discussions directly in task comments,
- ask for and give feedback, and
- add files, images, and links.
This information will safely remain in the system forever because you can search and restore tasks even after they are complete. The best part is that you can access your projects literally from anywhere thanks to mobile apps for all devices.
This is called task-based communication, and we value this kind of communication over meetings, calls, e-mails, etc. You can read more about it in this blogpost.
5. Easily manage your projects & tasks
Once you have a long list of projects, you might need to put them in order.
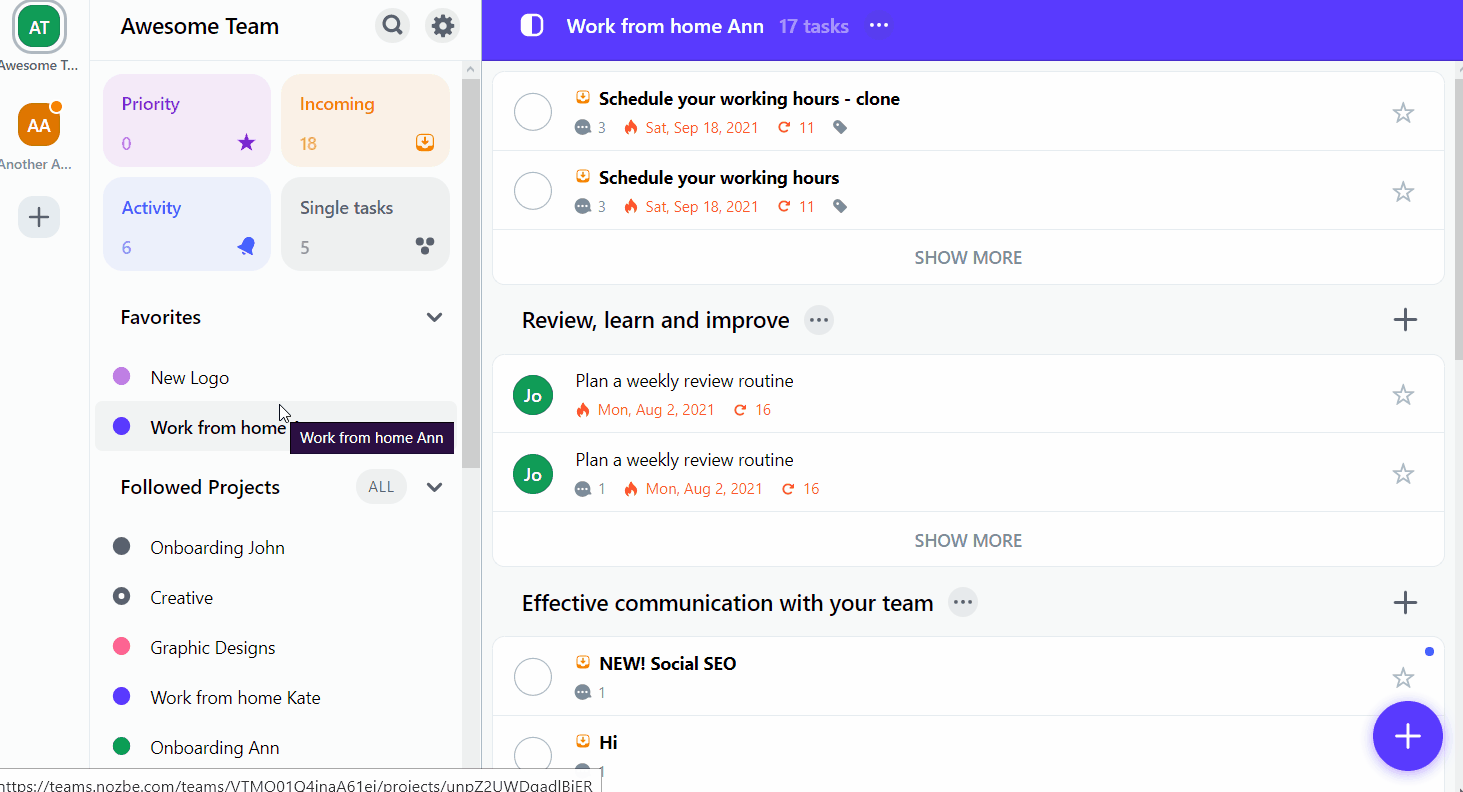
To stay on top of the project’s progress, you can follow it. This means you will see info about every little change in a project in your Activity view. In Nozbe, you automatically follow every project that you create.
And what about projects created by other team members? You can choose to follow them manually if you’re really interested in them.
✅ To do so, you’ll enter the project by choosing its name on the project list and hitting the Follow button at the bottom of the view.
If you want to focus on a project, you can additionally choose to make it a favorite.
✅ To add a project to your Favorites, you need to open the project and enter its menu by selecting the three dots icon next to its name. The Favorite option is marked with a heart ❤️.
Of course, you can also follow or favorite a project right in the Activity view.
Another way to keep your stuff tidy in Nozbe is by using project sections, which let you divide projects into thematic blocks, stages, or milestones.
✅ To create a section, open your project, go to its menu using the three dots button at the top of the view, and choose Add section.
Once you have your sections ready, you can move the existing tasks to them using the Section button in the task details or simply drag and drop your tasks in specific sections and between sections.
👉 By the way: when creating a new task, you can click the “+” icon in any specific section to add a new task directly to this section.
Last but not least, you can also take advantage of tags, which are used to group tasks from various projects in bundles unrelated to the project, but related to a particular person, place, or tool used. One of the best examples is “phone,” which can be a tool needed to complete tasks across many projects. You can also have a tag with your client’s name to be able to group all the tasks that involve them.
✅ See here how to create your first tag – it’s simple! Go to the main menu on the left and choose the Add new tag button to add it.
✅ You can assign a tag to a task directly in the task details view: click the “Tags” button and choose an existing one from the list.
6. Always be on top of things – the Activity view
Now, let’s focus on the critical Activity view in the Nozbe app. Visit the Activity section regularly to observe all the new activities in the projects and tasks you follow. Here you’ll also receive info about recently created projects.
If you’re a manager, it will be your favorite view. By following the Activity, you can contribute, provide feedback, and help your people out whenever you see it’s needed.
If you need to see what a particular person is working on, head to the Team view and choose the teammate. You will see the list of all the tasks assigned to them in the projects to which you both have access. Please note that if you have a Premium account, there may be projects to which you haven’t been invited. If you are using the Nozbe free account, you have access to all the projects that have been created by your team.
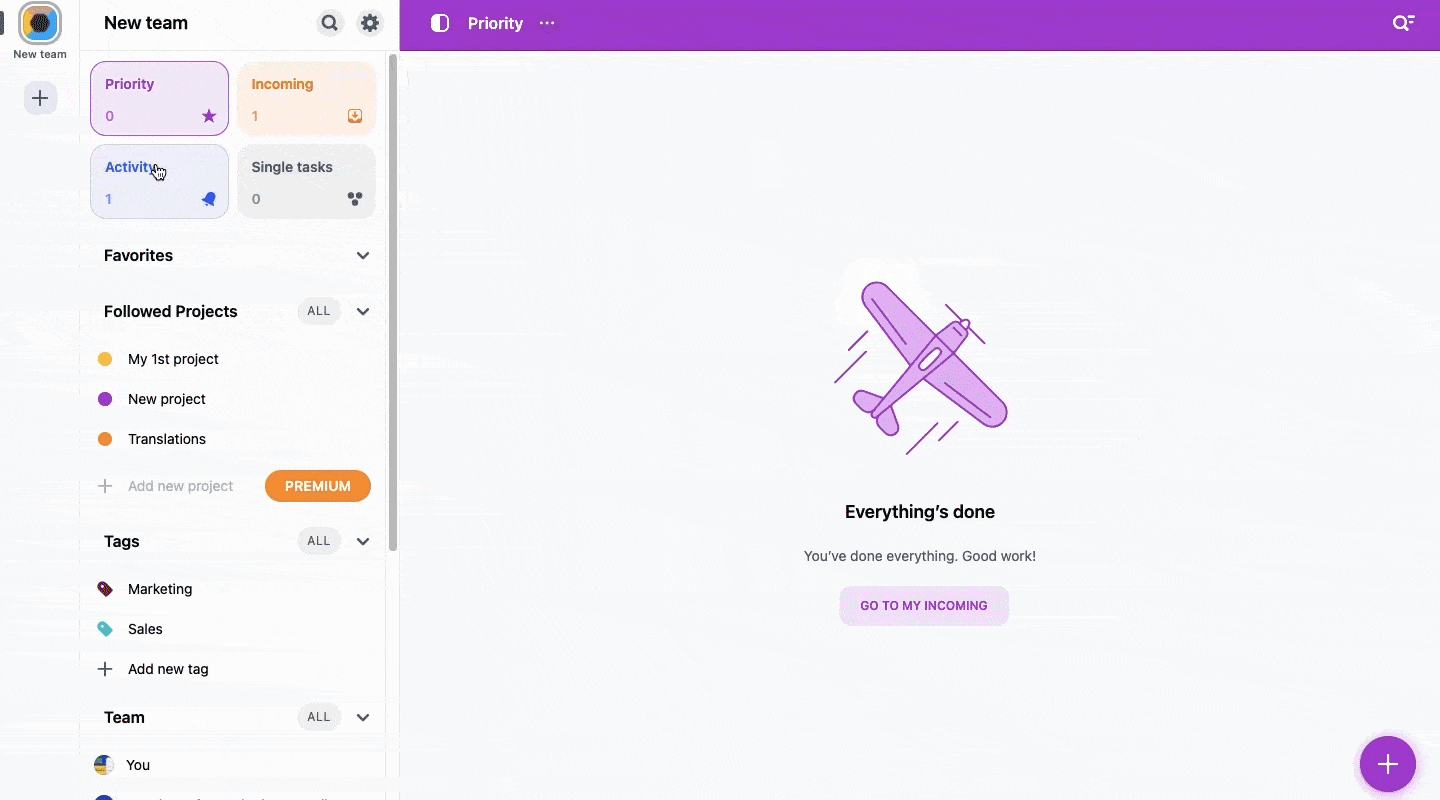
7. Stay accountable – the Incoming view
Use the Incoming view as your management center and communication hub – this is the place where everything that needs your attention will appear. Here you will see:
- your overdue tasks and assignments due today,
- the tasks that have been assigned to you,
- the tasks in which you’ve been mentioned, and
- the tasks for which you set up a reminder.
Try to regularly check the Incoming view and decide what to do with the tasks that have landed there. Keep in mind that this is not a place to store your tasks.
8. Be the boss – your Priorities
Now the time has come for your Priorities. It’s only you who can decide to mark a task as a priority. Some people only star (mark as a priority) the tasks they want to deal with today. Others star the work they want to get done within the current week. Everyone has their own system – but you do need a system!
👉 Note that you can star a task even though it is not assigned to you. You can make a task your priority to make sure someone completes it or to track its progress.
9. Never miss a thing thanks to Reminders
What can you do with important tasks that you don’t want to mark with a star? Well, you can set up a reminder! Let’s say you have a task that you want to take care of next Wednesday, but you don’t want to put on your Priority list in order to keep it tidy and not overwhelming. It’s simple!
✅ Go to the task and choose Remind me in the details section at the top. Set up a reminder for the next Wednesday and get notified when the time comes.
10. Task-based communication again!
We designed Nozbe to help teams communicate and get their projects done. The main idea behind our app is task-based communication, which is the best way for modern teams to thrive.
To get from zero to done in our Nozbe team, we communicate in tasks. This way, we have everything that we need to complete a task in one place.
- The discussion related to the task takes place in the comments.
- We provide feedback and opinions by writing text comments in tasks. We ask questions and get solutions right in tasks.
- We manage responsibilities within tasks by assigning work to specific team members.
- Then, these tasks get done.
It’s all structured, easy to follow and search, and very actionable. When you open a project, you can see clearly what’s going on, who’s responsible for what, and how each task is progressing.
Now it’s your team’s turn to get stuff done. Follow the steps described in this article and try to set up a system that will work best for you. If you have doubts or questions:
- check out the Nozbe Help Page,
- watch the video tutorial, or
- email our customer support team at support@nozbe.com.
Questions?
We hope that this short entry exhausts the topic. If you have doubts or additional questions, write them in the comment below or in a message to the customer service team: support@nozbe.com.